For any Dynamics 365 F&O project, setting up your development environment correctly is the most important step. This is the main workspace for all your coding, testing, and bug fixing.
This guide will walk you through the standard way to get your own cloud-hosted dev environment up and running using Microsoft’s Lifecycle Services (LCS).
What each type of environment is for
Before we start, it’s helpful to know that not all environments are built the same. The one we’re creating is for development.
The environment this guide covers is called a Tier-1. It’s an all-in-one box, meaning all the essential components (the application, the database, etc.) are installed together on a single machine. This makes it the perfect workspace for developers.
This is different from other environments like Tier-2+ for testing (UAT) or the final Production environment. Those are multi-box setups designed to be a mirror image of the final, live system. While that’s crucial for testing, it’s not available for coding.

Deploying a cloud-hosted environment via LCS
Deploying a cloud-hosted VM through Lifecycle Services (LCS) is the standard, established procedure. LCS serves as the management portal for the entire F&O application lifecycle, including the deployment of packages to higher-tier sandbox and production environments.
Follow these steps to deploy the cloud-hosted environment.
1. Initiate deployment
From the LCS project dashboard, open the main menu and select Cloud-hosted environments. Click the + Add button to open the deployment wizard.

2. Select Topology and Version
Here, you will define the specifications for the environment.
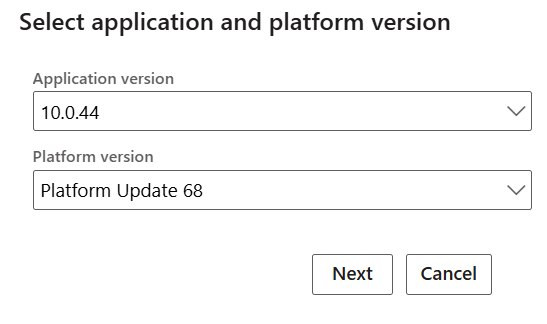
In the wizard, select the target Application version and Platform version. Best practice is to align these with your production environment version.
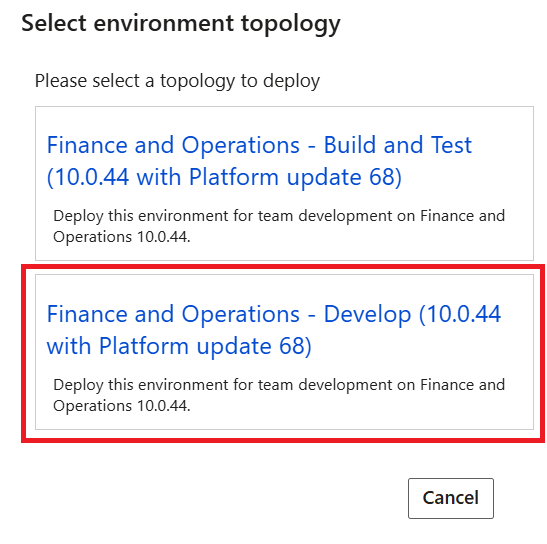
For the environment topology, select DEVTEST and chose Develop. This specifies a Tier-1, single-box development topology.

3. Configure Environment Settings
This step involves customizing the virtual machine specifics.
Assign a unique and descriptive Environment name for identification within LCS. It’s a good practice to use a consistent naming convention.
For example, if your client’s initials are ABC and this is your second development environment, you should name it: ABC-DEV02

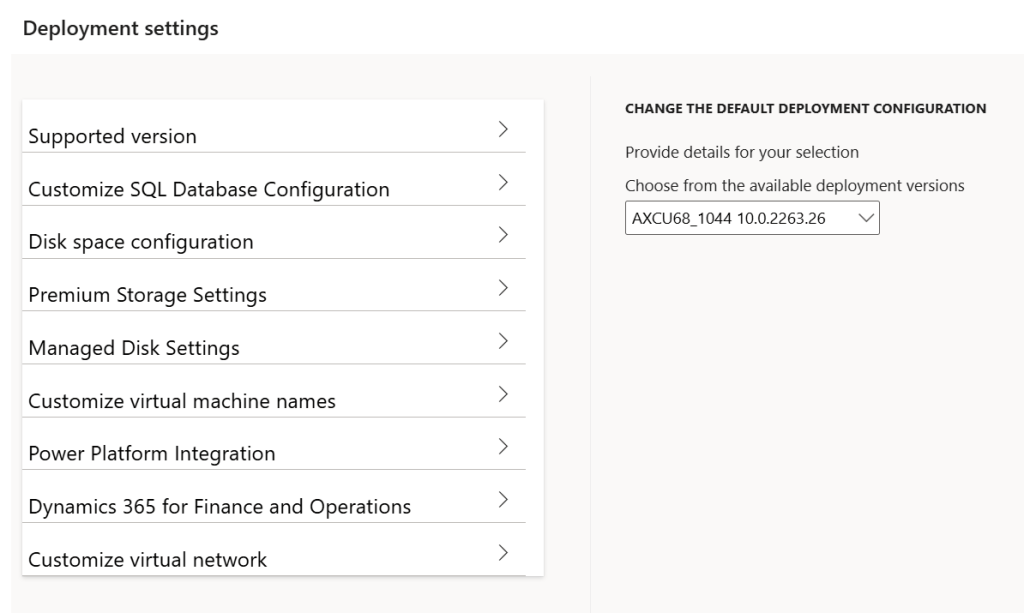
Click Advanced settings to expand additional options:
Supported version
Here’s where you will select the precise software version of Dynamics 365 Finance and Operations for your new environment. The dropdown list shows all the application and platform update versions that are currently available for a new deployment.
How to Choose the Right Version
- For a new project: It’s almost always best to stick with the default option, which will be the latest and most current version. This ensures you have all the newest features, bug fixes, and security updates.
- To match another environment: The most common reason to pick an older version is to match a client’s existing environment.
Customize SQL Database Configuration
This step is about choosing the starting data for your new environment’s databases. You have two main choices to make:
1. Main Application Database (AX DATABASE)
It determines what data your main Finance & Operations application will have when you first start it up.
- Choose
Demo: This will load the standard Contoso demo data set. It’s filled with sample customers, products, and transactions, which is incredibly useful for learning the system, developing new features, and running tests. - Choose
None: This gives you a completely empty database. It’s the right choice if you plan to migrate your own data in later.
2. Financial Reporting Database
This is a separate, specialized database used for running financial reports.
For a development machine, you typically don’t need this populated with data right away. Leaving this set to None is almost always the best choice.

Disk space configuration
Here, you’ll decide how much storage space your new development machine will have. You have two settings to configure:
Maximum number of disks: This lets you choose how many separate drives the machine will have.
Size, in GB: This is where you set the storage capacity for each of those individual drives.

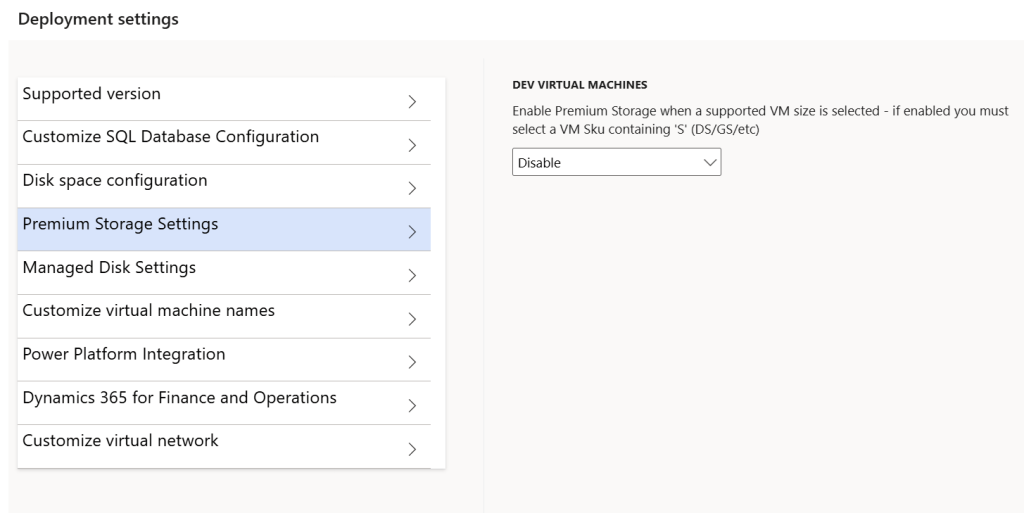
Premium Storage Settings
This setting is all about choosing the performance level of your virtual machine’s hard drives.
Your Options:
- Enable: This gives you Premium Storage and the option is available if you selected a supported VM size. Your development machine will feel much faster and more responsive. Compiling code, starting the machine, and running processes will all be quicker.
- Disable: This gives you Standard Storage. This is a good option if keeping costs low is your priority and you don’t mind waiting longer for tasks to complete.
Managed Disk Settings
None: Think of this as a legacy option that you should almost never choose. It opts out of the modern, simplified “Managed Disk” feature, making storage management more complex with no real benefit for this type of deployment. It’s best to ignore this one.
Standard LRS: This is your budget-friendly choice. Your machine will work, but tasks like compiling code and loading the application can take time.
Premium LRS: This is the high-performance option which makes everything faster and more responsive.

Customize virtual machine names
You have two fields that work together to create the final VM name:
- Specify a name: This is the main part, or prefix, of the computer’s name that will appear in Azure. It is recommended to use the same name as Environment name.
- Specify a start index: This is a number that gets added to the end of the name prefix. For a single development machine, this will just be the number you enter.

Power Platform Integration
This is a key step where you connect your Finance & Operations (F&O) environment to the Power Platform. This connection for a dev environment can only be set up during deployment, so the answer is almost always Yes.
By enabling this, you are creating a new Dataverse environment and linking it directly to your F&O environment. Dataverse is the smart database and core of the Power Platform. Think of it as giving F&O a powerful partner that can handle low-code apps, automated workflows, and much more.

Dynamics 365 for Finance and Operations
This setting controls whether a shortcut for this specific dev environment appears on your company’s main Dynamics 365 dashboard. For a dev environment, it’s common and perfectly fine to leave this disabled.

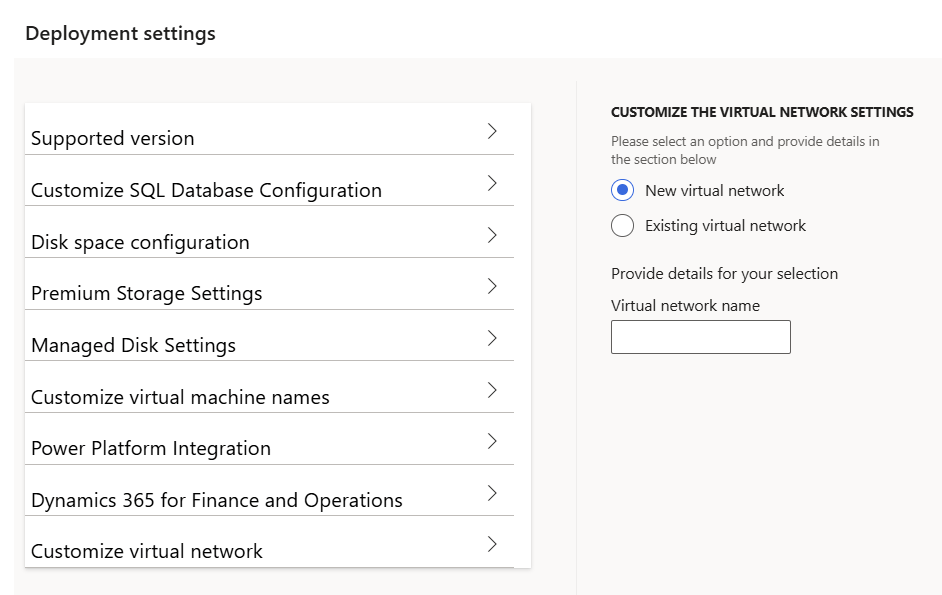
Customize virtual network
This is where you decide on the network settings for your new virtual machine. For a standard, self-contained development environment, creating a New virtual network is the simplest and most common choice.
Once you’ve configured the advanced settings, you can proceed with deploying the environment. In this guide, I will be using the standard B8ms virtual machine size. You can find more information on sizes and pricing at the following link: https://azure.microsoft.com/en-us/pricing/calculator/

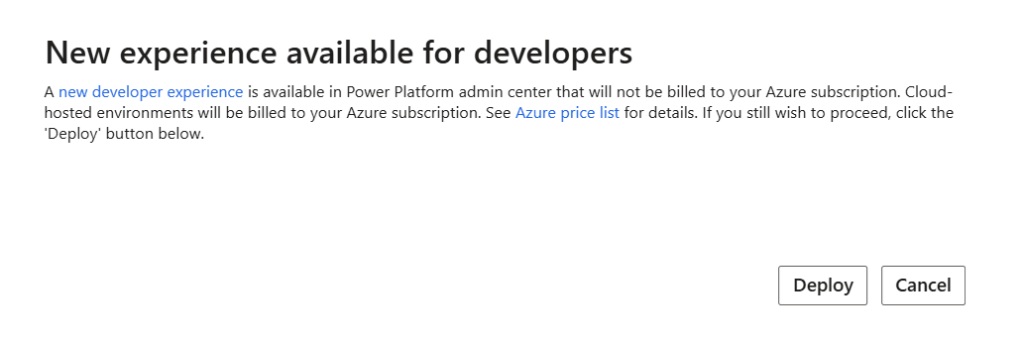
4. Deployment and monitoring
After confirming your settings, click Deploy.
- The deployment will be added to the queue. Its status will appear as Queued and then transition to Deploying.

- The deployment is fully automated and can take between 4 to 8 hours to complete. You can monitor the status on the Cloud-hosted environments page. Once the environment status shows Deployed, it is ready for access.

Access
- Click on the environment name to open its details page.
- The F&O application URL is available under the Log on to environment section.
- Scroll down to the Local accounts section to find the credentials for the built-in local administrator account. Use these credentials to RDP into the cloud-hosted VM.
Links
https://learn.microsoft.com/en-us/dynamics365/fin-ops-core/dev-itpro/dev-tools/access-instances

Leave a comment